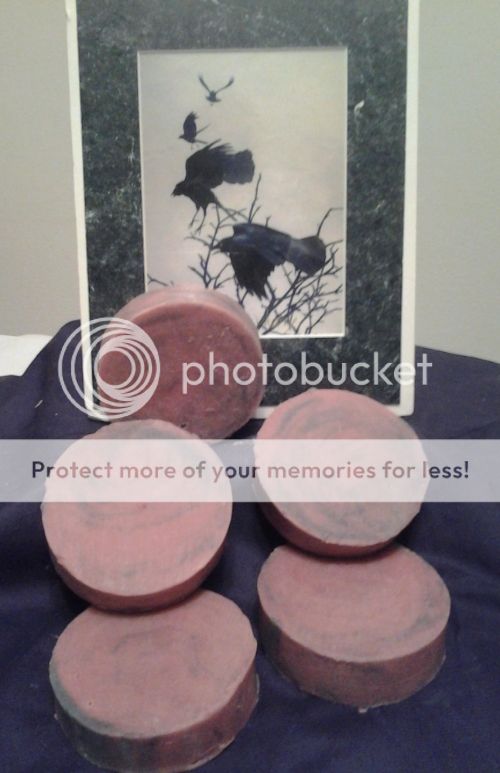
My second and third attempts were much more successful and are currently curing. The colors did not come out quite as well as I would have liked, but I am happy to have usable soap instead of laundry soap again :) The soap was made as a challenge from the Soap Making Forum to make a soap that represented something from mythology. My soap was based on the Morrigan. The red came out more as a pink and I did not scent the second attempt as I thought that might have been part of the problem with the color sticking.

By my fourth soap, I feel I was getting more comfortable with my recipe (a mix of olive, palm, coconut, and castor oils), and my soap came out looking very nice (at least to me). It was scented with an Indian Sandalwood fragrance oil from Bramble Berry and the swirl was done with red oxide. I feel I also started improving some on presenting my soap better with my photography. I am slowly learning these things :-)

In my fifth soap, I decided to get a little more daring, and I made a green tea infusion to mix with my lye instead of water. This consisted of three tea bags steeping in 172 grams of distilled water. I gave it plenty of time to cool off before adding my lye to the tea as the lye already gets to approximately 200 degrees without the added heat of tea that was not at room temperature (soap making is trying to teach me patience). After mixing the lye and tea, I made the rest of the recipe as I normally would.
When I added the lye mix to the oils, I was a bit concerned as a lot of brown suck to the bottom of the oils. I stuck it out and began stick blending anyways, and my usually tan batter turned a dark and ugly brown! I had a green oxide already mixed that I had been planning to add to the soap, so even though the soap was already an ugly dark brown that seemed like it would barely pick up the green color, I added the colorant into the mix and then added the lemongrass fragrance oil that I almost forgot!
By this time the soap batter was thickening and as I poured it into the pvc mold, it was a very dark green brown, almost like a melted chocolate with a touch of green in it (I am keeping away from some of the more disgusting things I could use to describe it as, but it was really ugly). I feared the worst for the appearance of the soap, but it smelled wonderful! After a few hours of saponifying (I also had wrapped the soap in hopes that it would gel and this would help the soaps ugly color), I took a peak at my soap and saw that it had turned a lovely shade of green.
I went to bed happy with my success. Things were not all roses with this soap after this though, because I decided the next day that instead of giving it the full 24 hours to saponify, that taking it out of the mold an hour early wouldn't hurt anything. I was wrong.
My soap got kind of stuck in the mold and this was another one of those times when I had to practice patience as I tried alternately freezing and heating the soap to get it to slide out of the pvc mold. After a few hours of trying every hour or so, I let it sit on the counter for about two hours and then with a surly look, I tried again. I was about to give up for another few hours when it moved! So, with a bit more persistence, I managed to get my green tea and lemongrass tea out of the mold, none the worse for the wear.

This leaves me with my latest creation. This was a Shea butter soap, which changed up my recipe a little bit. I used my normal one pound batch and added 10 grams of Lavender essential oil and 15 grams of Indian Sandalwood Fragrance Oil. So far the bar feels very nice and looks pretty (no coloring added), but the scent is mostly lavender. I will see how it settles out as it cures and then in use.

So, that is the story so far, will be adding more as I make them. Oils are due in tomorrow!!
Your pictures are definitely improving! You will love CPOP, if you are impatient. I don't like waiting 24 hours to unmold - feh! Keep up the great work!
ReplyDeletehttp://maitribathbody.com
Thank you so much, Maitri! I think I will try out CPOP after I get a mold that I can put in the oven. I have been looking at some silicone molds on Amazon and thinking I might try out one of those if I ever get some money available on my credit card again! ;)
ReplyDeleteI like your blog Badger! great job!
ReplyDeleteThank you, hopefully I will actually remember to actually keep it updated as I work on new soaps... :)
DeleteThank you kindly Liz! Can't wait to make more soap to add to it ;)
ReplyDelete